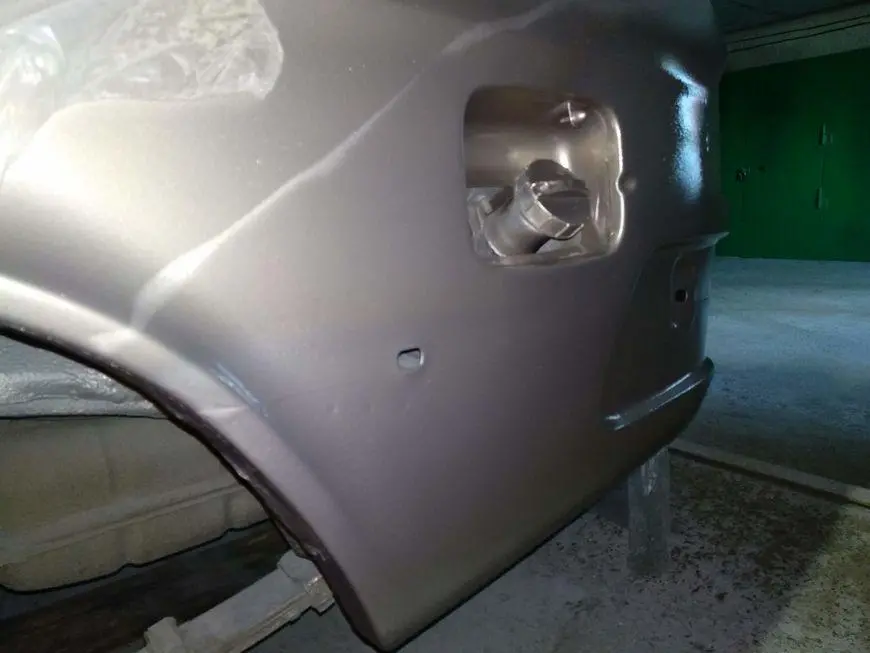
In the last article, I told you how I painted the left (damaged) side of my Volga. Painting failed. I applied the insulating primer incorrectly, made a lot of smudges with the base enamel, somewhere I decided to remove the debris (with my finger), somewhere I touched the freshly painted surface with a hose. The color of the fresh paint did not match the old at all. In general, I got the first experience.
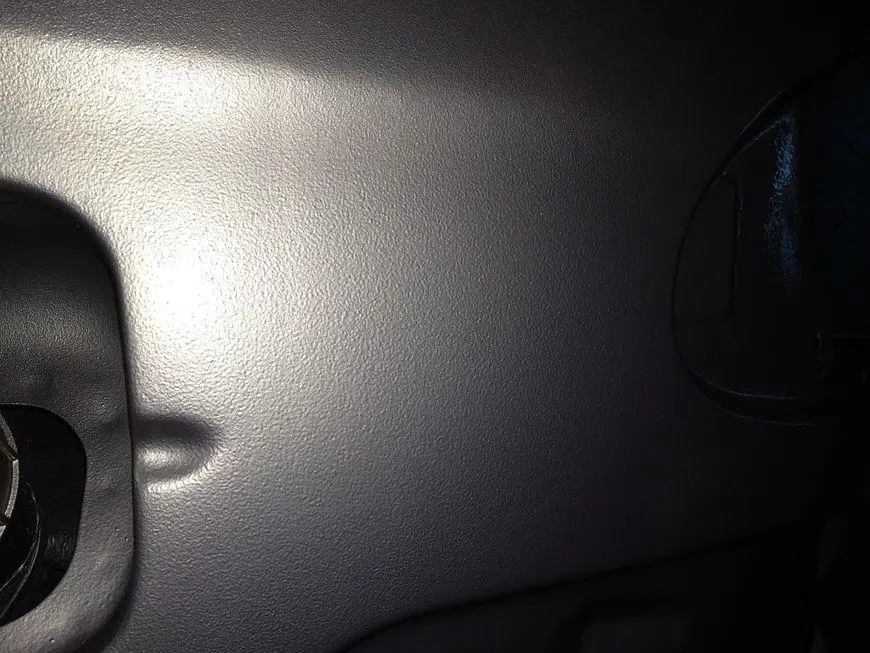
About the primer-insulator HB BODY 970. During the subsequent painting of the wing, doors and front panel, I concluded that not only the second and third layers of primer caused shagreen. At low temperatures (below 20 degrees Celsius), the primer also spreads poorly. And the colder, the more rough.
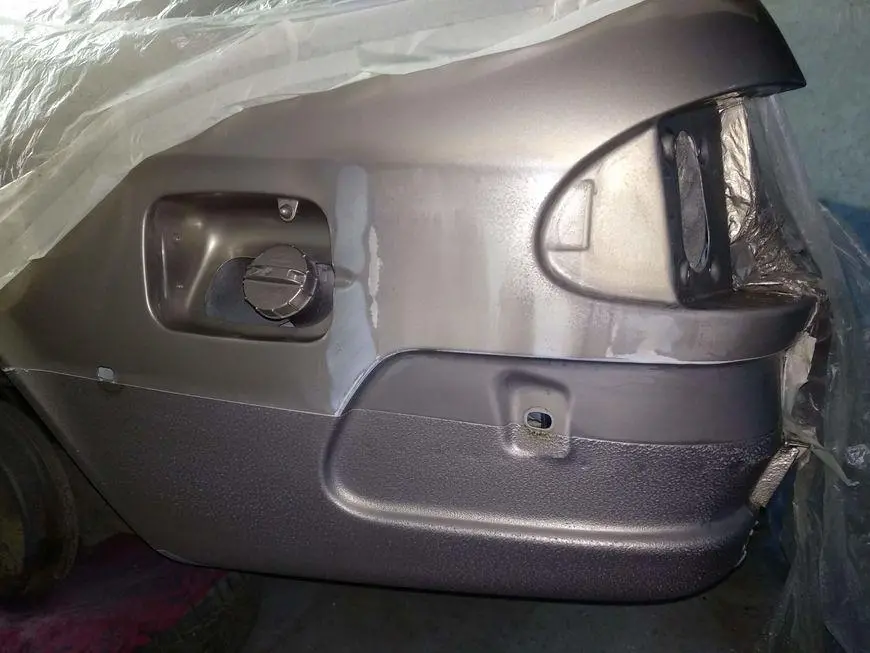
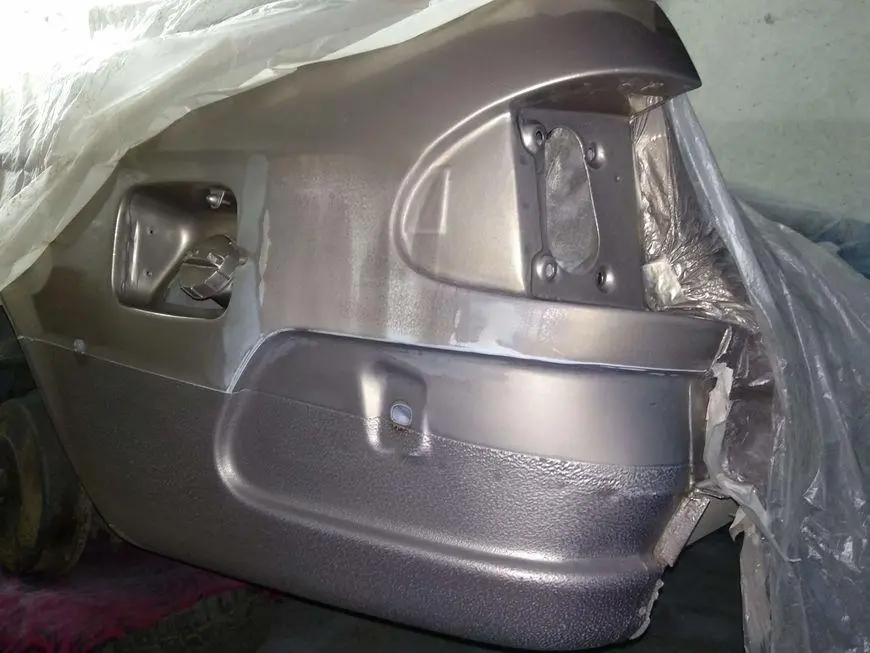
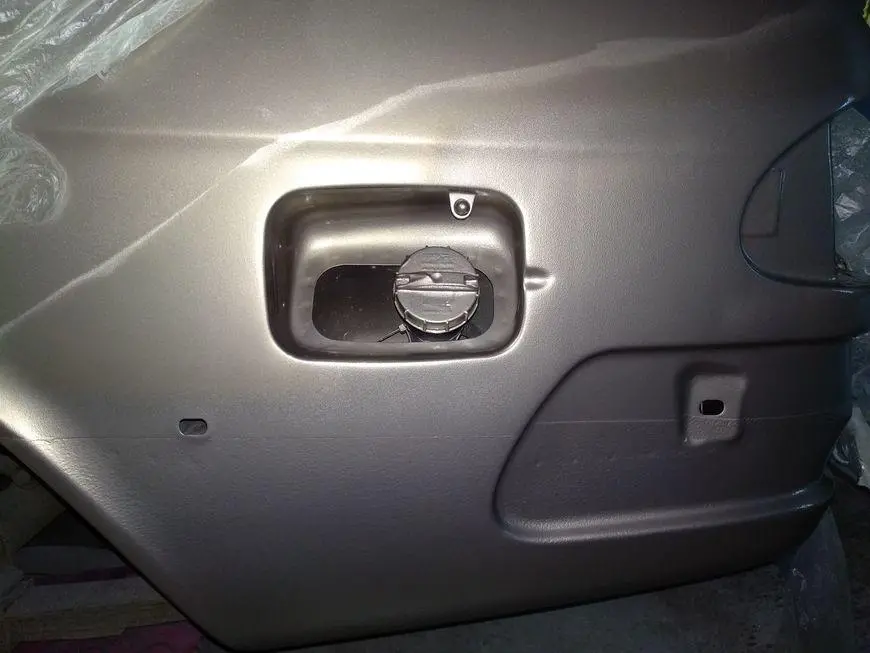
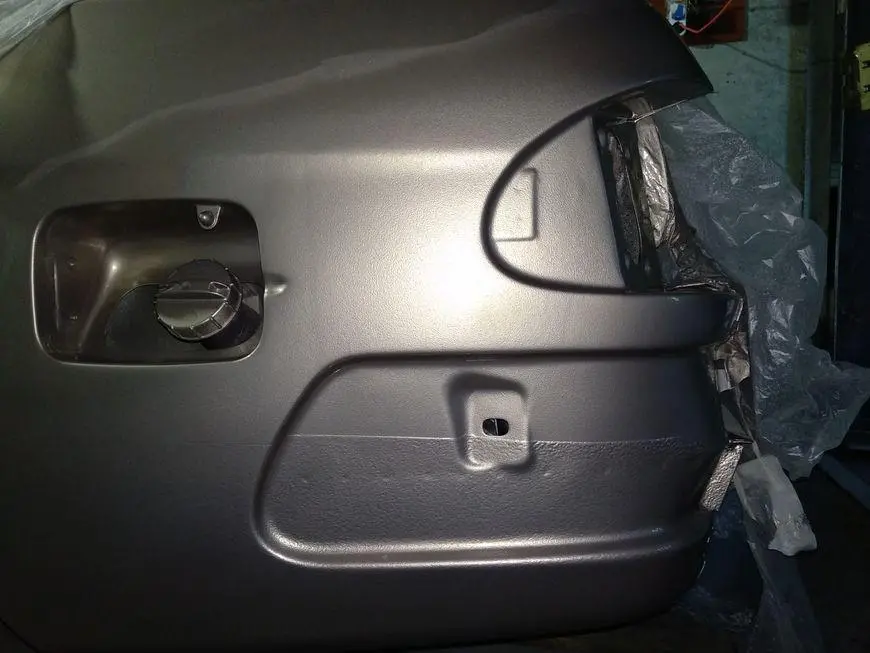
After the first unsuccessful painting, I decided to paint the whole car. Only I planned to do it next year (2020). And this year (2019), while the weather was relatively warm (10-16 degrees Celsius), I decided to bring everything to a common denominator (paint everything that was left, just like the body). Firstly, in order to protect bare metal from moisture. Secondly, to give color to all the "front" parts of the car body parts, which will then be easier to cover in the desired color.
So, how to fix paint errors.
I pre-sanded and primed the poorly painted areas with filler. After drying, I carefully (as far as I could) sanded them.
I adjusted the air supply on the compressor to 2 bar, as the instructions say.
I have a cheap spray gun, HVLP (High Volume Low Pressure) systems. That is, a gun that operates at low pressure, and at the same time consumes a lot of air. This is neither good nor bad. I am sure that in the hands of a professional (which I am not) with any pistol, a masterpiece will come out. Bad only for the compressor, which tirelessly tries to pump up the set pressure.
Next, I completely shut off the supply of both air and material. Opened the supply of base enamel half a turn. By supplying air, I began to regulate the spray. Achieved a barely noticeable jet, and slowly began to spray on defective areas.
The color of the base, by the way, with this spray became similar to the one in which the car is now painted. Probably, such a jet should be painted.
After finishing the application of the base enamel, I opened the material feed screw another quarter of a turn and applied the varnish. Further, with the help of the 740th thinner, I made the varnish a little thinner, and applied it to the unpolished places. Although I know you can’t do this, the varnish can peel off later. But I think the varnish that I applied last time in a cold garage has not even completely hardened yet, so the peeling of a new layer will not occur.
That's all. In the next article I will share my experience with rust converter.
Until next articles.