I painted the body in parts. Somehow in the article “Bought an air compressor”, I already said that I did not dare to completely paint the car for two reasons.
The first reason was the lack of sufficient space in the garage to move freely around the car during painting, and not be afraid to accidentally touch the freshly painted surface.
The second reason is that the compressor bought for painting did not allow painting a large area at a time. I did not measure the compressor performance, but according to subscriber Sergey Shkalov, it is approximately 200 liters per minute (thanks to Sergey for the information). The HVLP spray gun, with the declared 200 liters per minute, in fact consumes much more. I found information that the air consumption of such spray guns is at least 260-270 liters per minute. The same can be said about the LVLP spray gun.
And all this information was confirmed even during the first attempts to paint the damaged parts of the left side of the body, when I was just starting the repair of the Volga. The compressor constantly, almost non-stop, worked, trying to pump up the right pressure. For this reason, the electric motor was very hot, which in turn led to its frequent shutdowns.
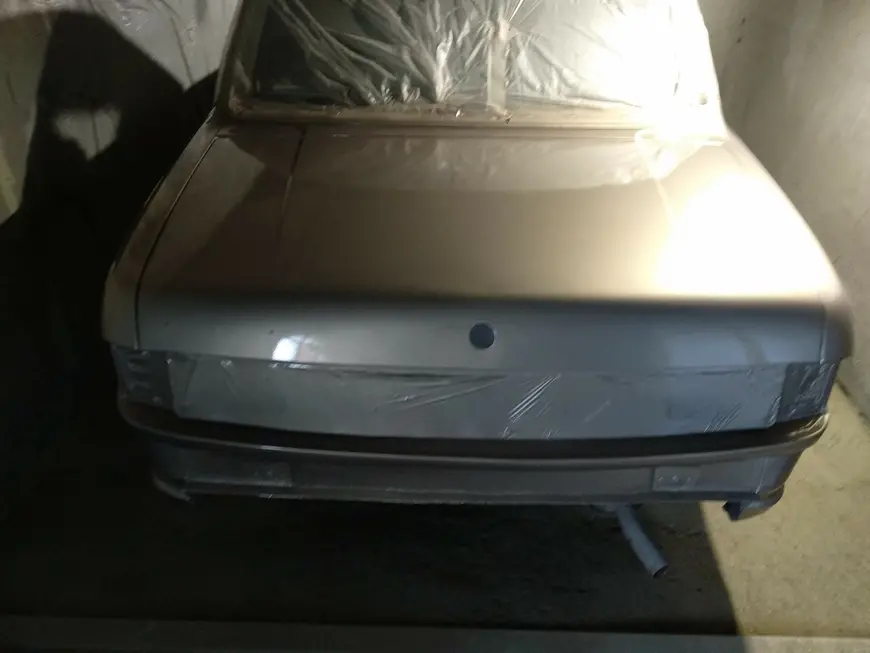
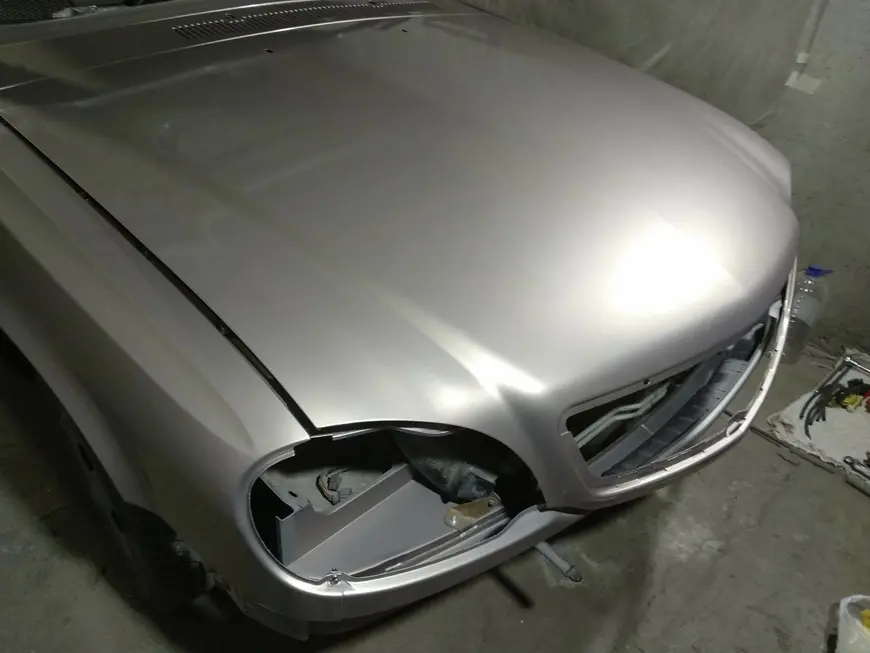
From the very beginning of the preparation for the FULL painting of the car, I divided its surface into five parts, these are: the rear with the trunk lid and rear fenders, the left side, the right side, the hood with the front, and the roof with the front and rear pillars. I painted in that order.
But now I would divide it differently: rear with trunk lid, left side (including rear left fender), right side (with rear right fender), hood with front, and roof with pillars.
During the painting, I used Mobihel varnish for the first time. Previously, I used "HB BODY". As a result, a lot of smudges. The reason is that in Mobihel it was not necessary to add a thinner, it is well applied without it. Excellent varnish, in my opinion better than "HB BODY".
And again, no matter how much theory you teach, until you try with your hands, you won’t learn. A bunch of times I watched a video about how professionals paint. They all say that you need to first apply a dusting layer, and after that normal, full layers. But I still, from the very first layer - “watered to the fullest”. Hence the smudges.
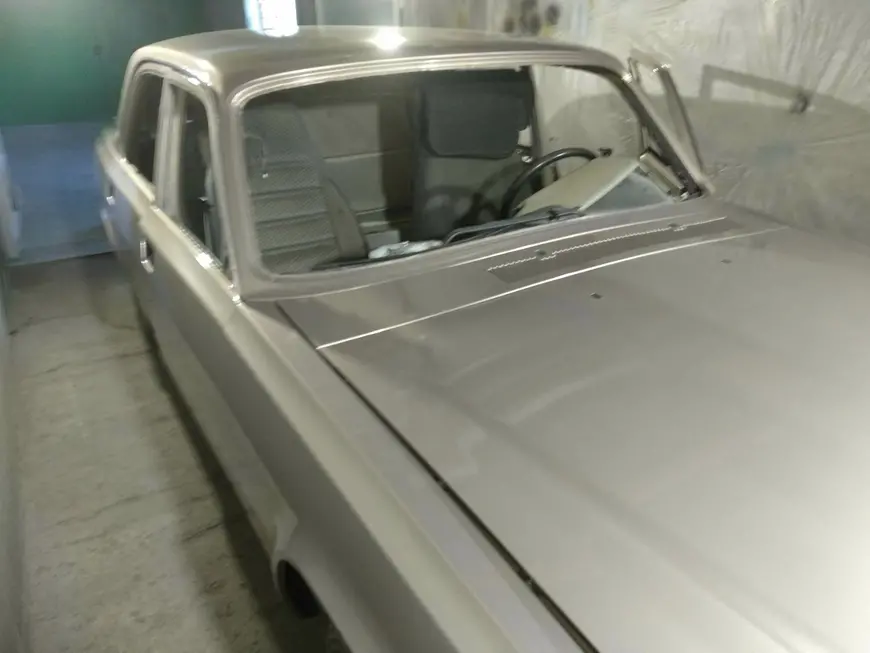
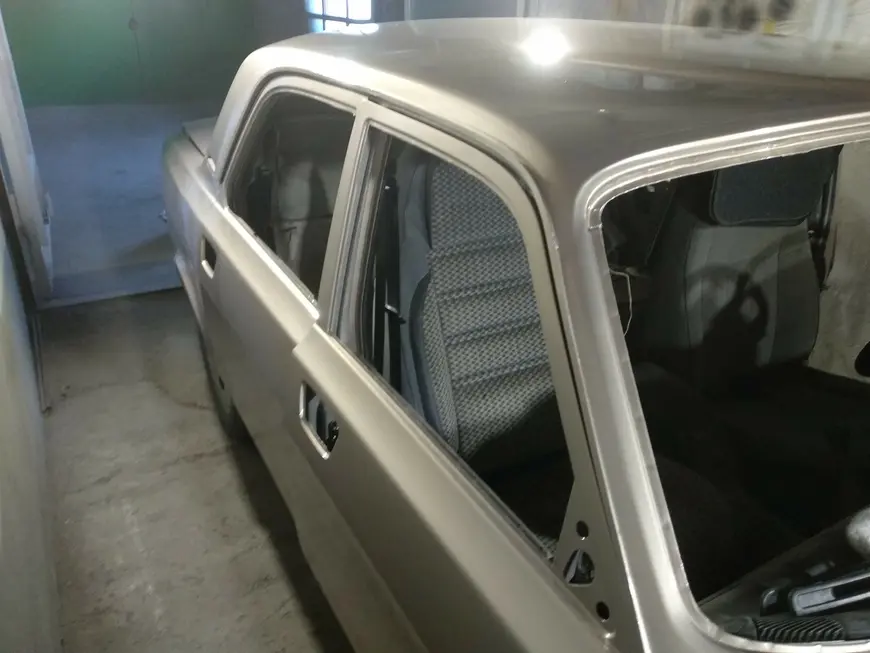
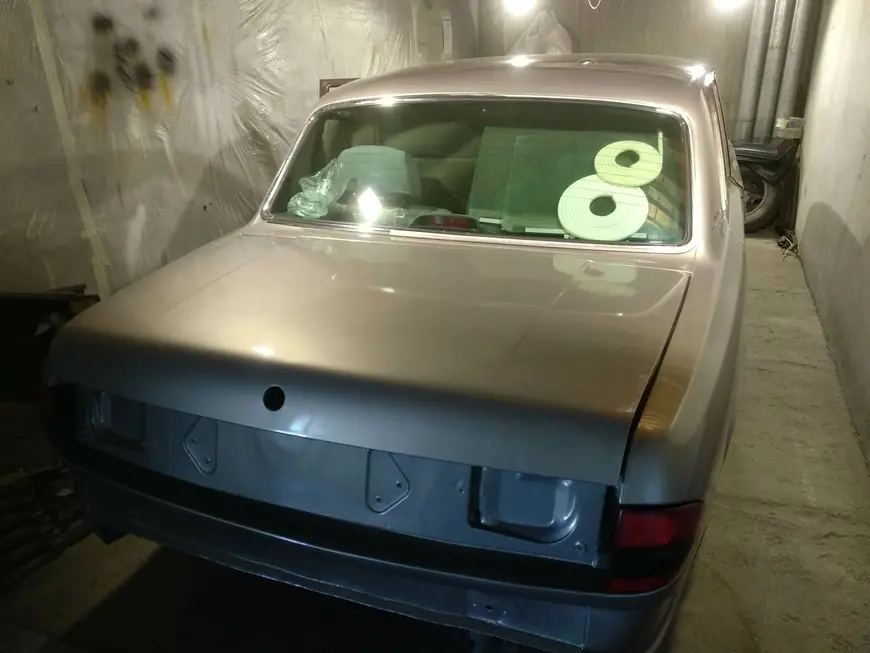
There is one more thing that I would do differently. Before painting, I didn’t want to remove the rear window in any way, I was afraid that I could split it or break off the glass heating leads. I was also afraid that I would not be able to put it back. In general, I painted with the rear window, gluing masking tape along the edge of the rubber seal. When pulling the upholstery of the ceiling, the glass had to be removed. I also had to clean off and touch up the “rough transition” of fresh paint that formed along the edge of the rubber seal. I was afraid in vain, I installed both glasses on my own, without outside help.
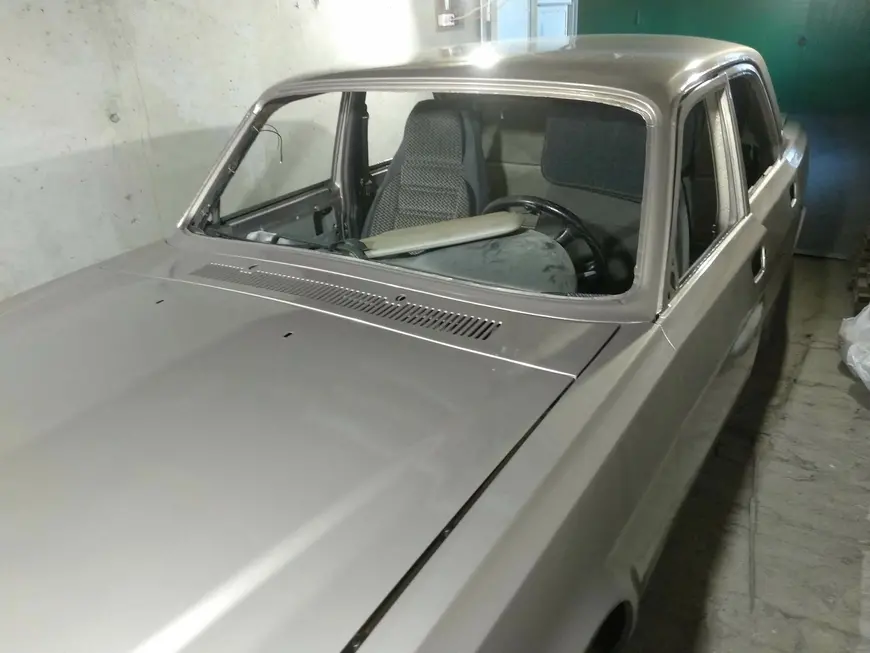
Well, actually a photo report. Body immediately after painting.
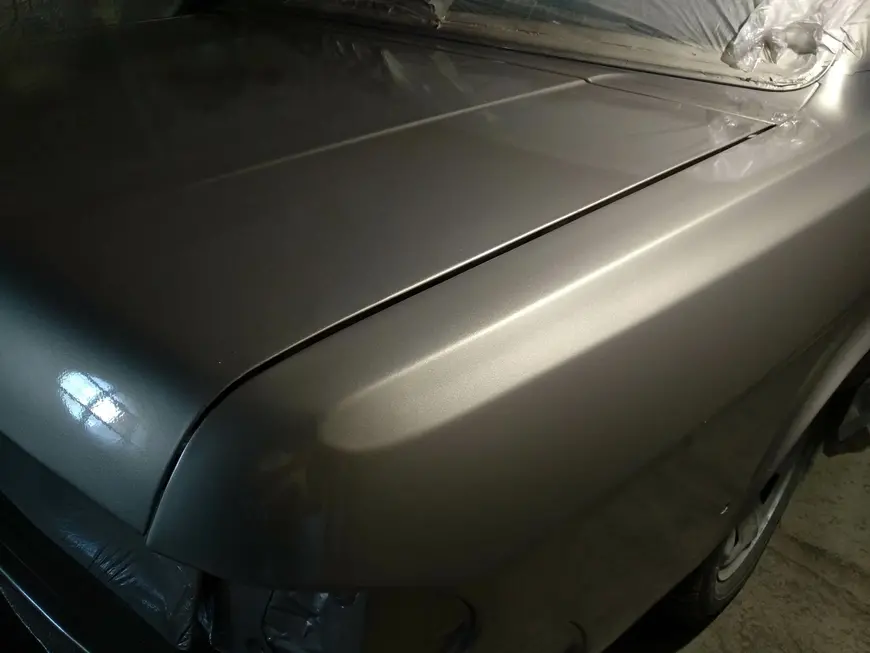
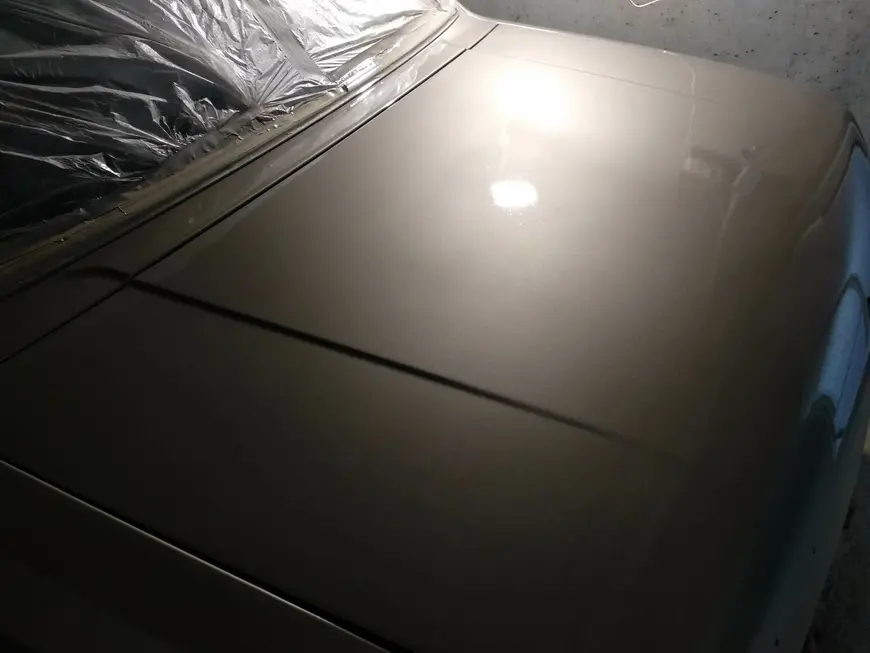
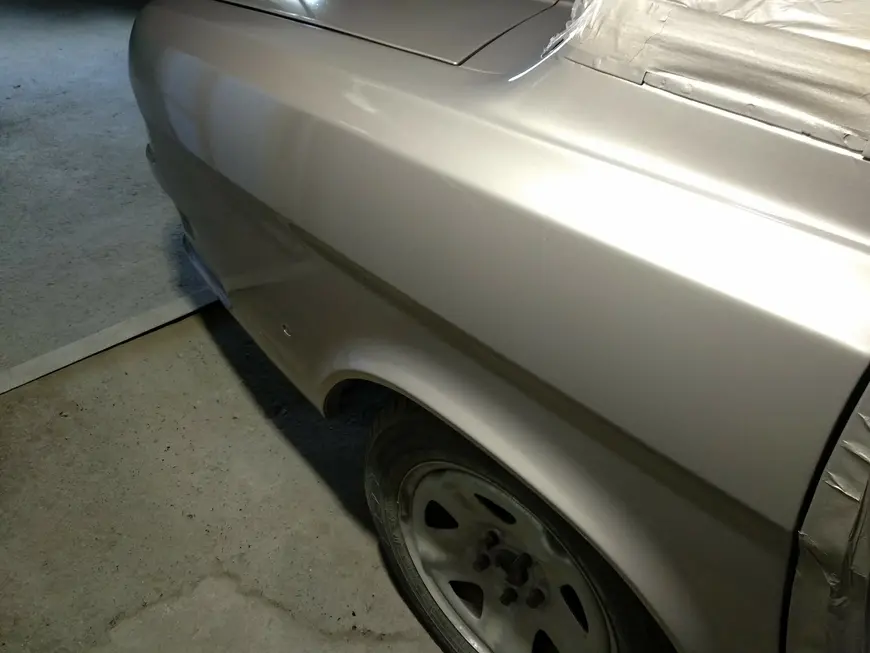
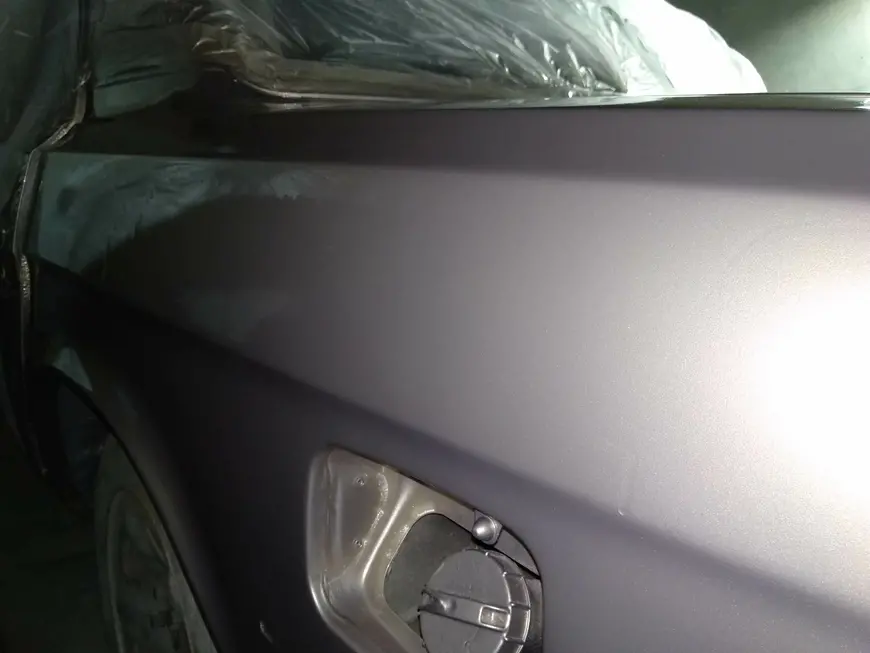
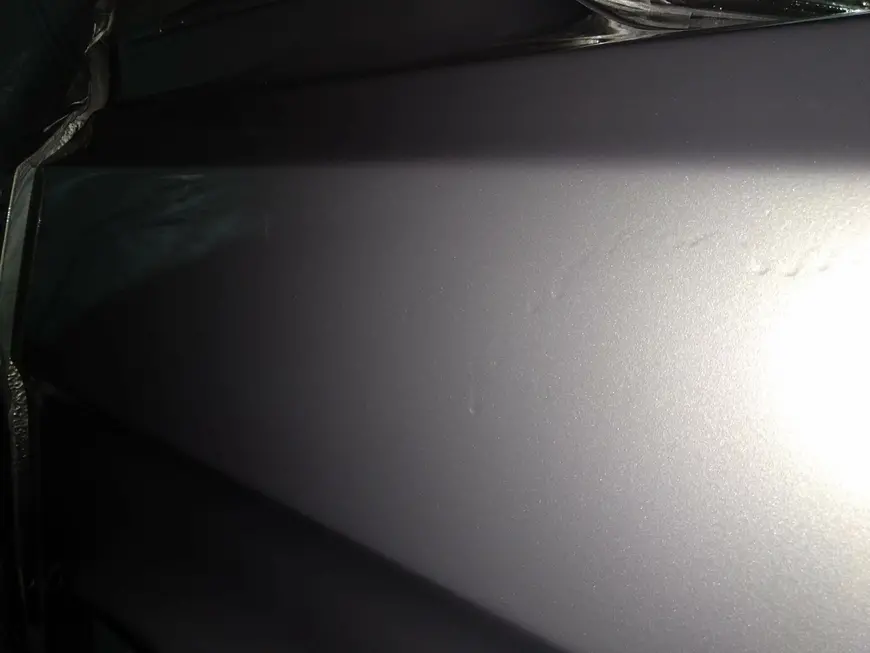
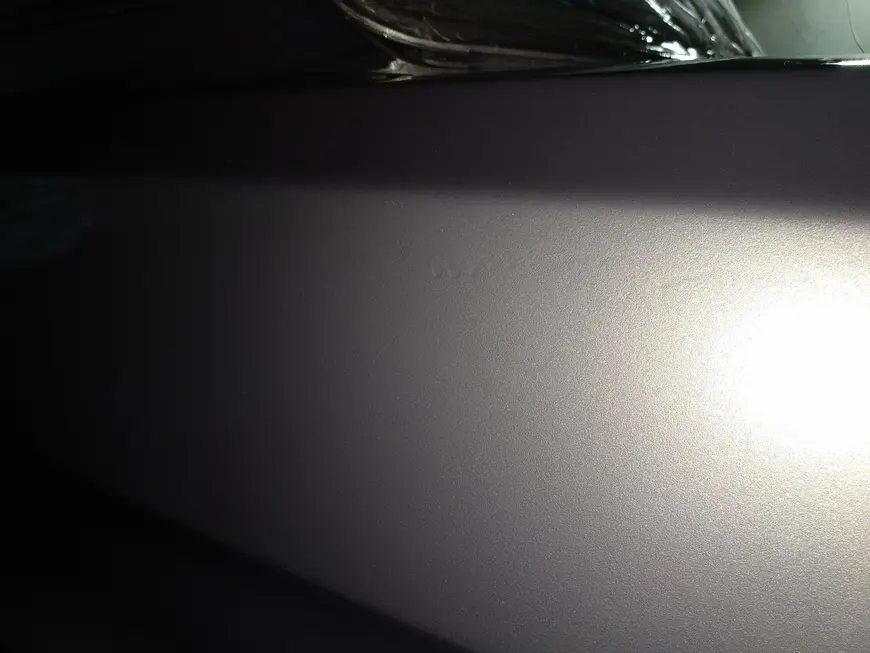
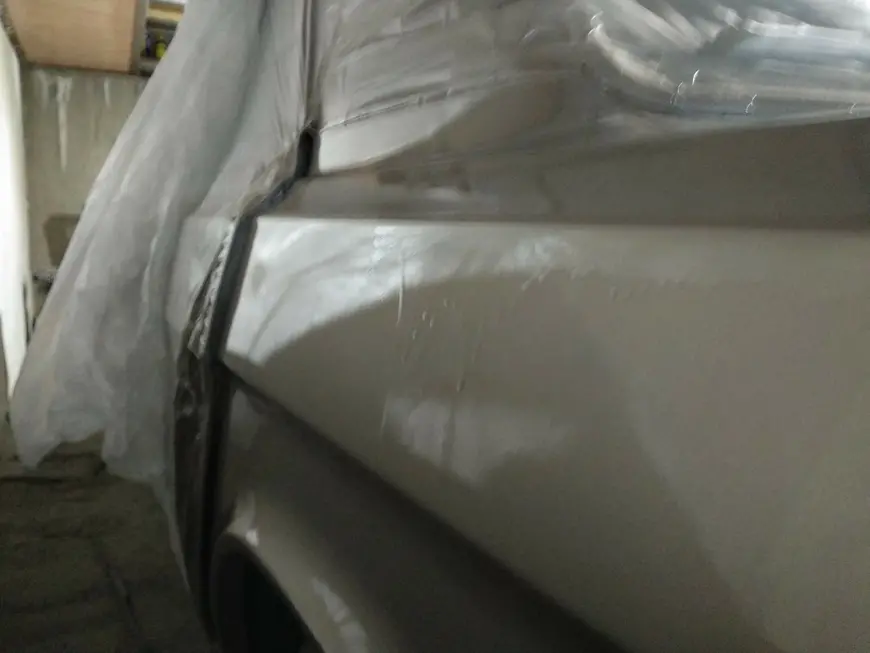
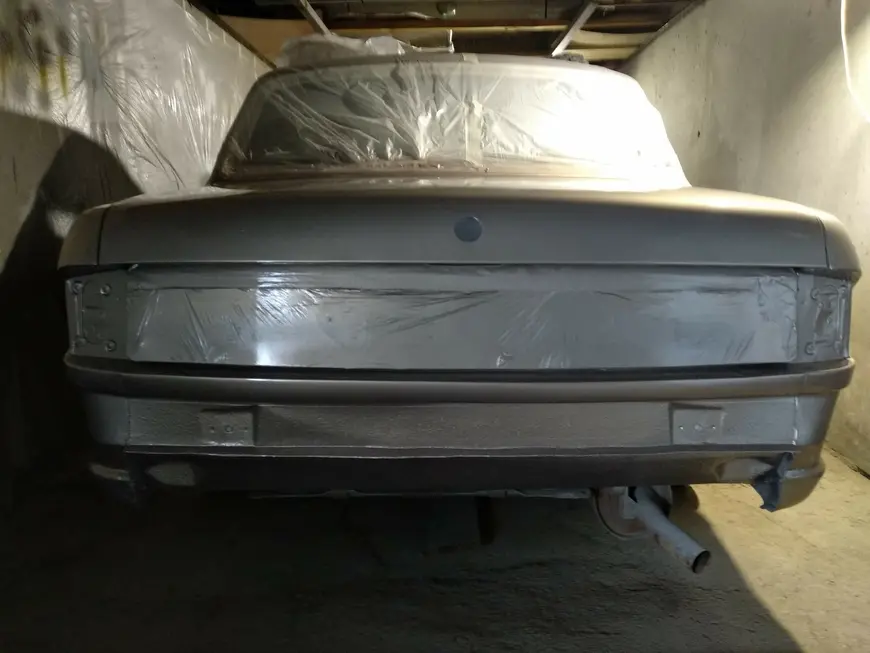


Until the next articles!