Today I will talk about the unsuccessful organization of the transition boundary for painting the gap between the old painted surface and the newly painted surface.
The method of organizing the transition, which I used, I looked at the YouTube channel "Club PROFI auto repair". Video in Russian, you should use the translation of the titles.
The transition method is not bad, and in principle there is nothing complicated in its implementation, but as it turned out, not in my case. Looking ahead, I will explain why.
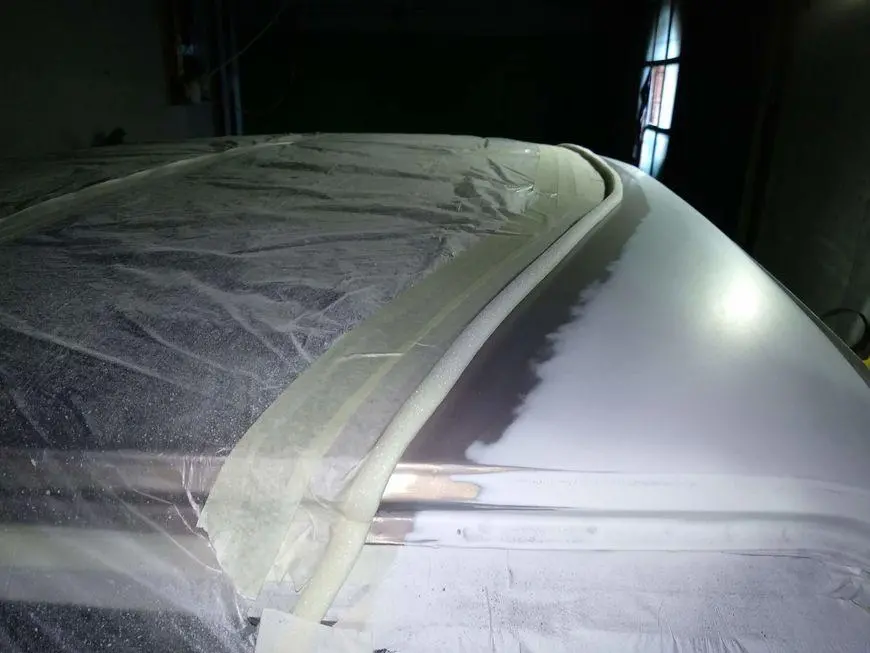
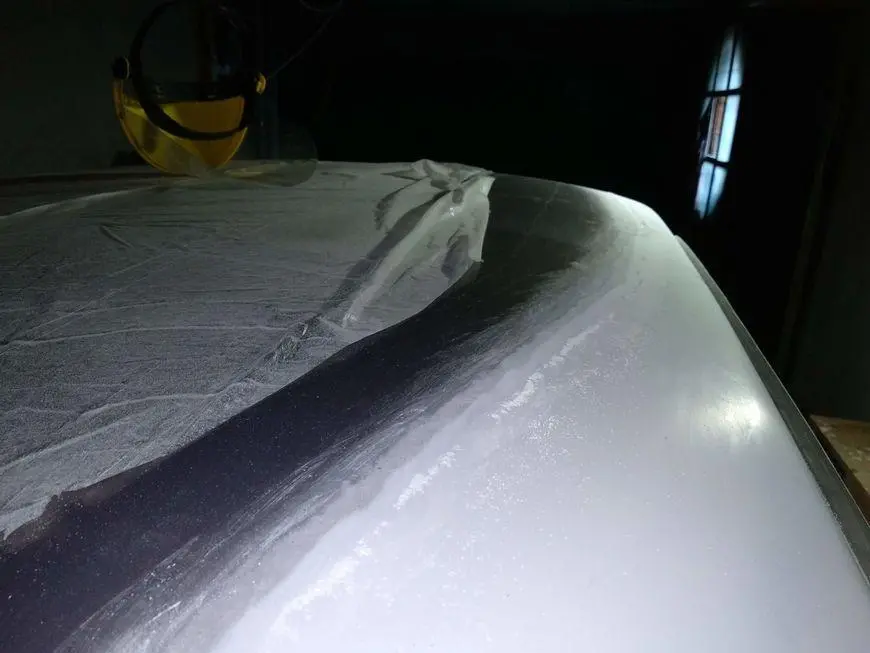
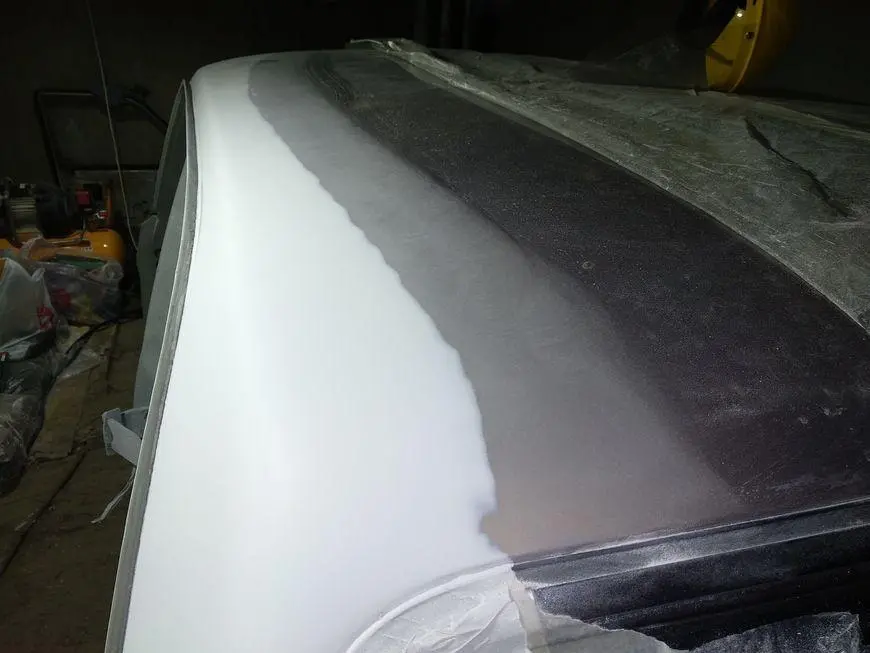
The first reason for the unsuccessful painting was the cramped conditions. The garage box in which I repair the car is small - 6x3 meters. I am repairing the left side of the car, so the right side is pressed as tightly as possible against the wall. A distance of about 20 cm was left between the wall and the body only so that the dismantled body parts (wing and doors) could be placed there. Therefore, on the right (opposite) side, I could not get close in order to apply the base coat and varnish, as stated in the video. This photo shows how the machine is installed.
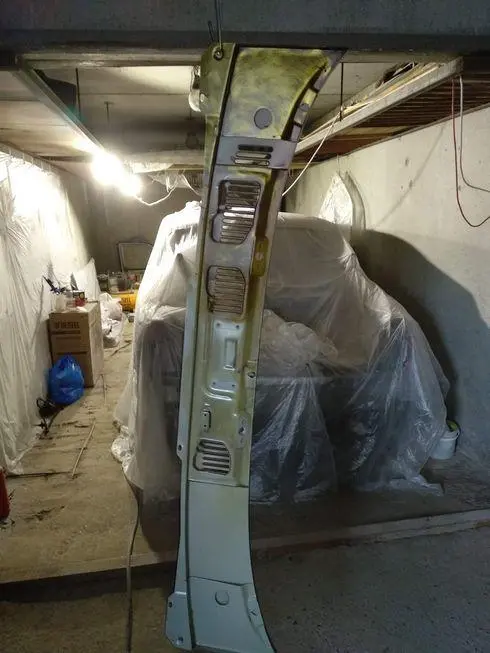
The photo also shows the front panel, which I also restored.
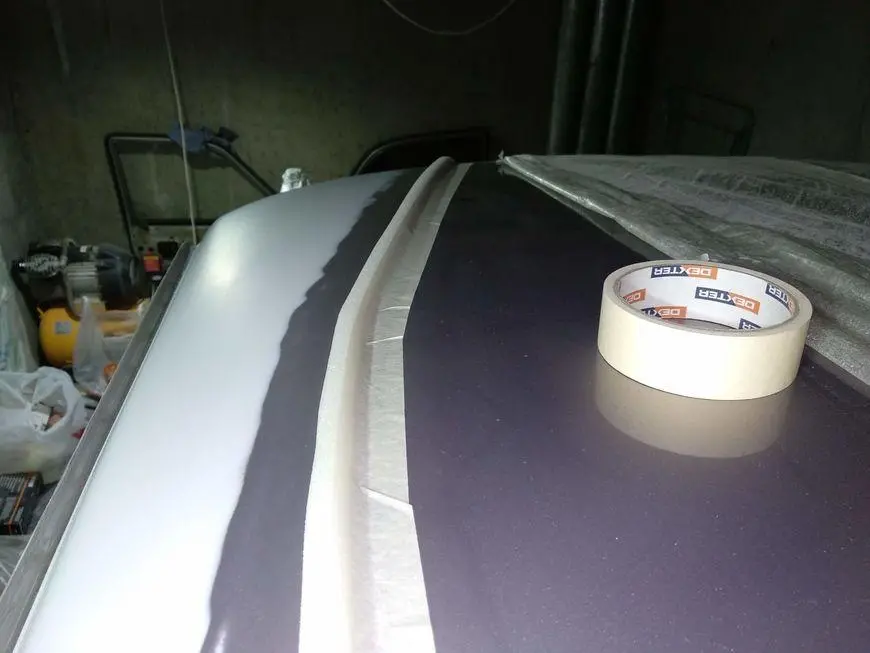
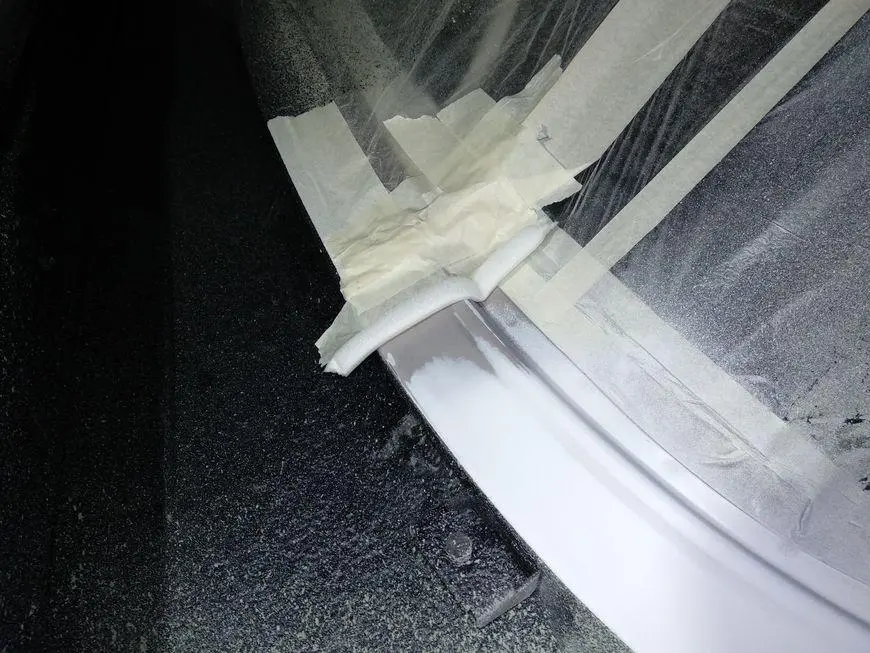
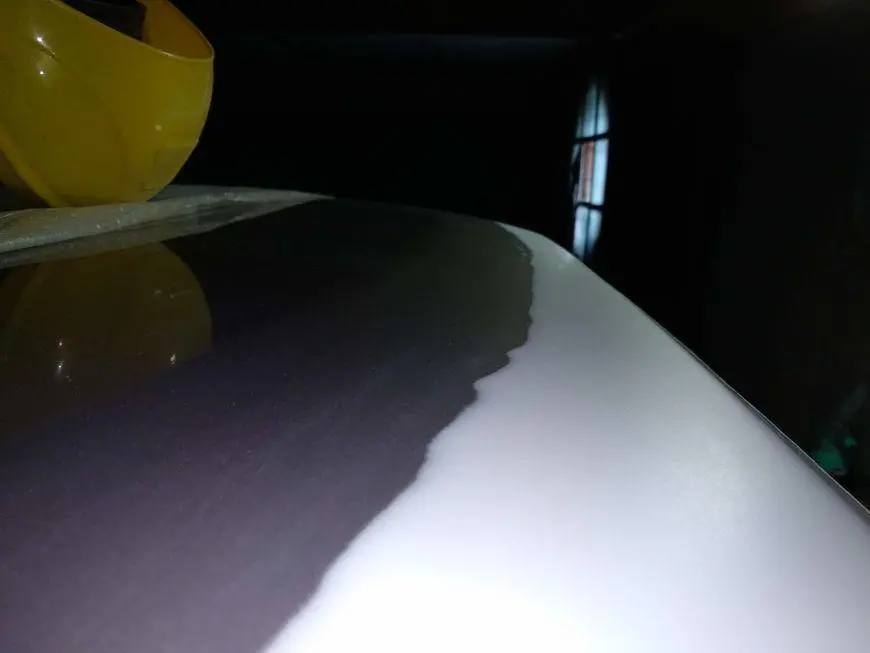
The second, main reason is how I glued the transition roller, or rather it is called the gap roller. In fact, this roller is designed to seal the gaps between body parts when painting the outer surface of the car, thereby preventing paint dust from getting on the inner surfaces.
To perform a full-fledged, high-quality transition, the roller had to be glued as far as possible from the surface to be painted. At the same time, the base enamel had to be applied, carefully, in a small stream, only on the primed surface. And the varnish had to be applied on the right side of the car, at a slight angle.
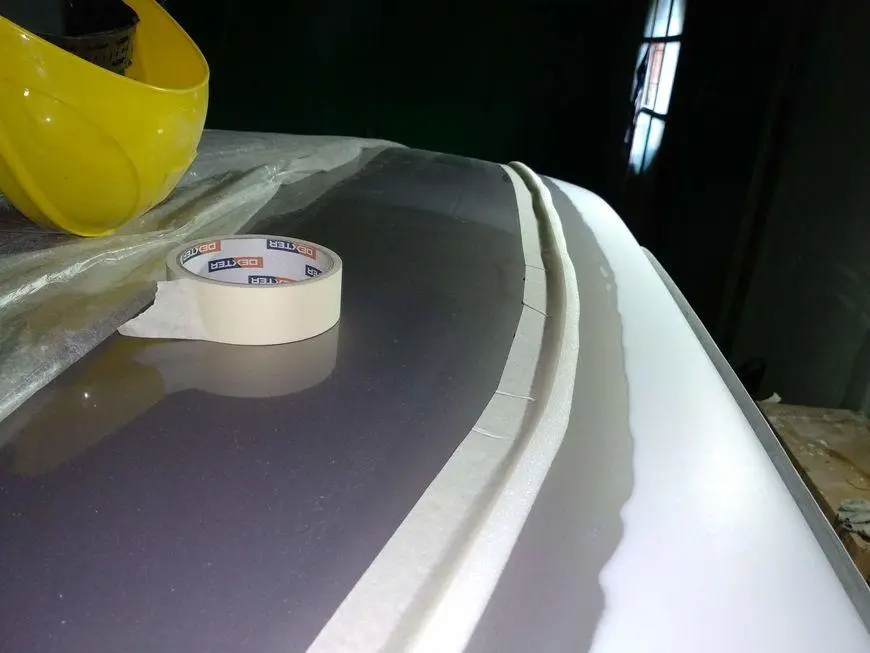
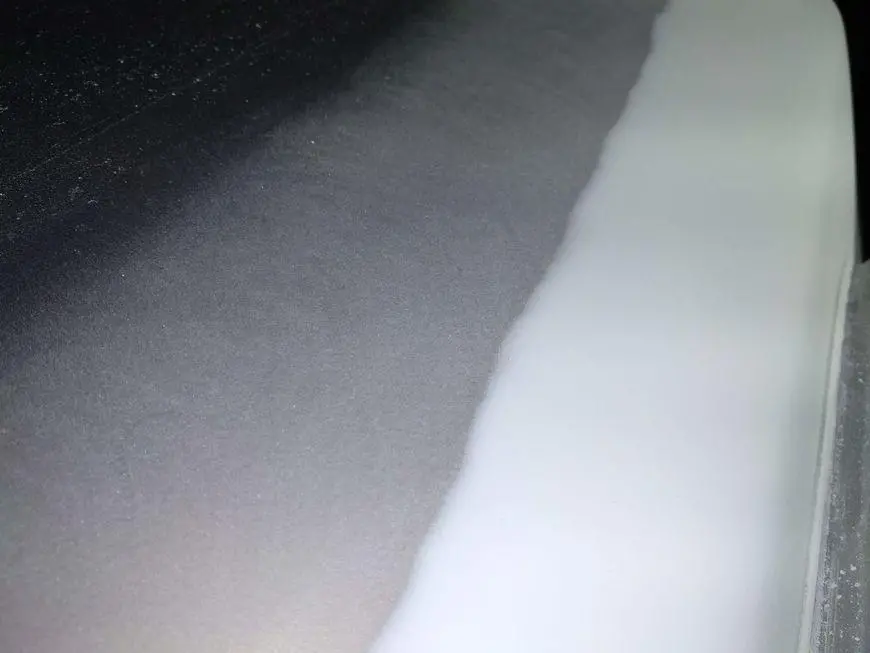
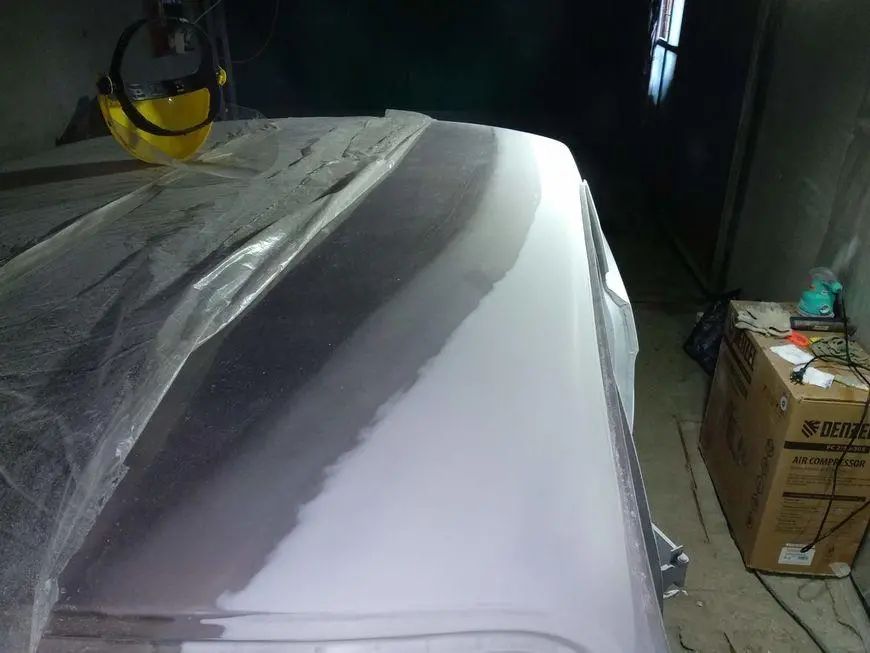
Here's how I glued the roller.
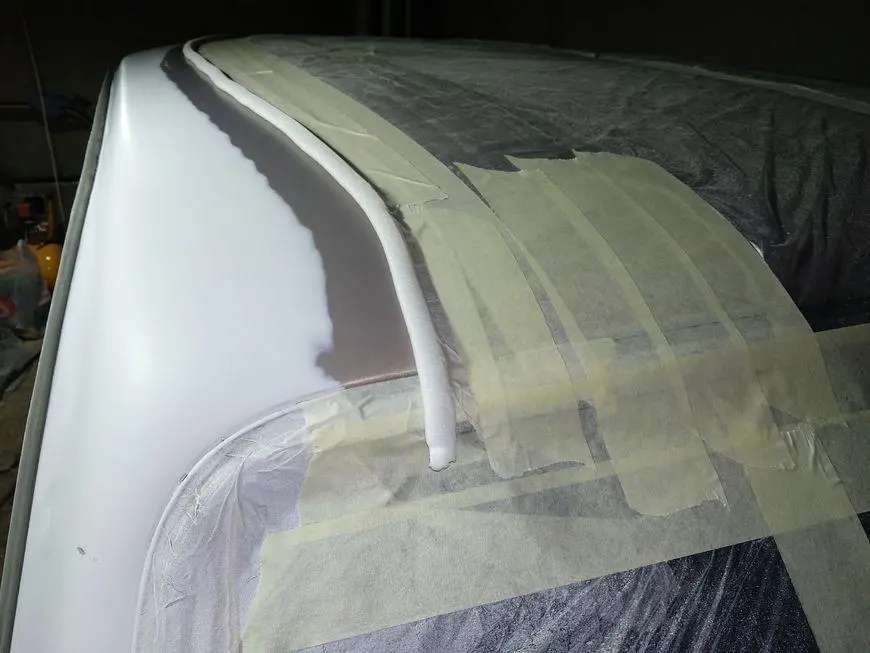
And here is how I polished the border of the transition.
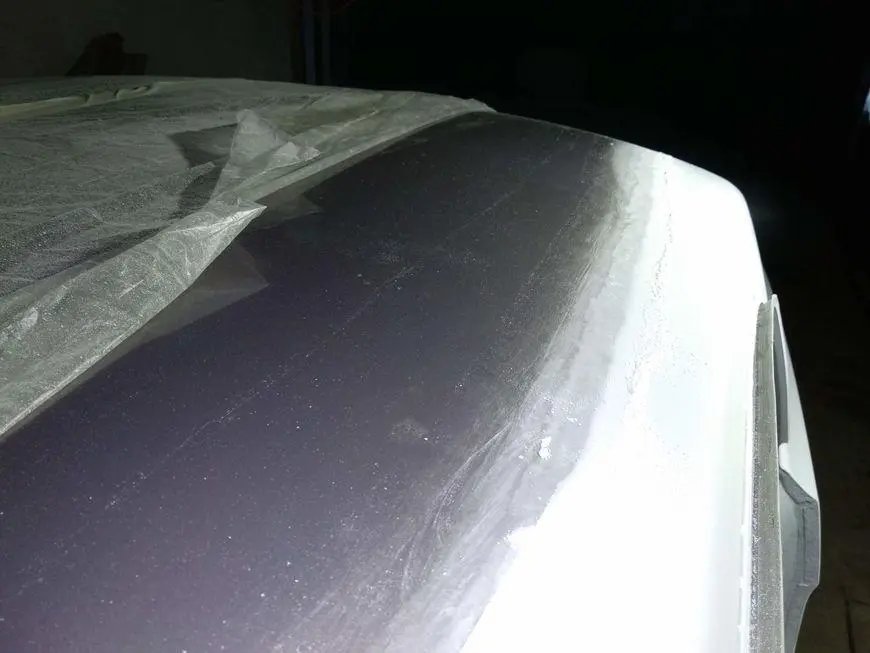
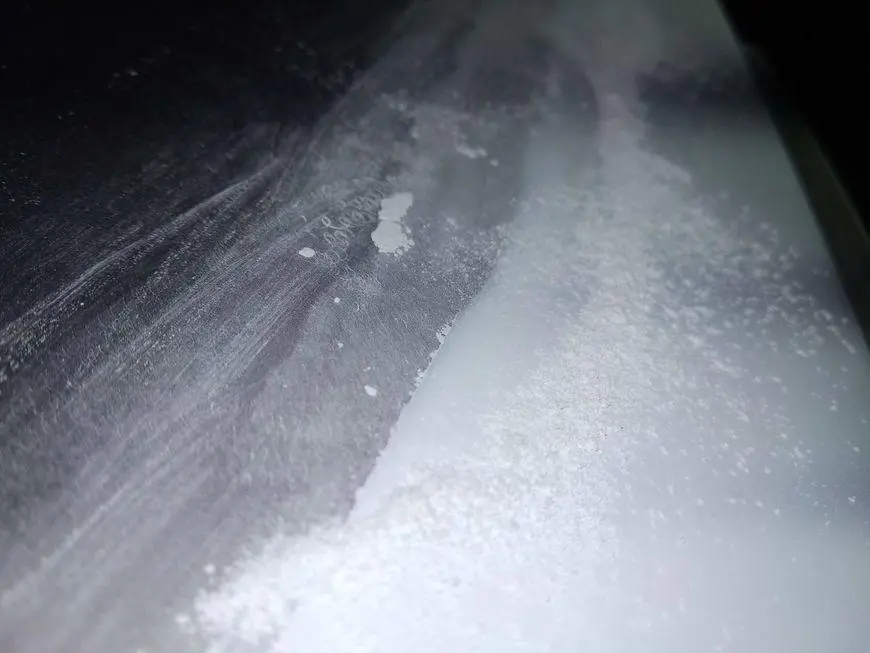
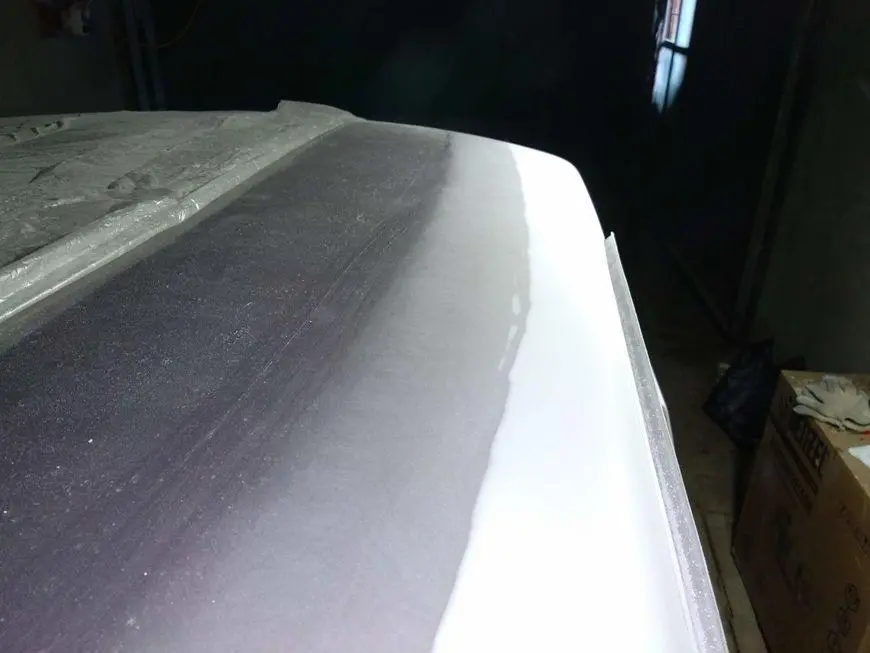
Sanding was done with P320 and P600 sandpaper. Before painting I planned to apply primer-insulator HB BODY 970, it is described here.
If I organized the transition again, I would do it with the help of a "parachute". This technology is described on the YouTube channel "Detailing Paint". The video is also in Russian, who are interested can watch with the translation of the titles. Although the video and without words, everything is clear. I recommend watching this video.
But I will no longer paint with the transition. It's easier to paint the whole part, in my case the roof.
After all the failures with painting, I planned to paint the car completely. In the next article I will talk about what failures awaited me when painting.
The first pancake is lumpy (proverb).
That's all. Until next articles.