Today I will talk about how I restored the wiper panel.
Henceforth, I will not stretch the story of how I cleaned, primed and painted details over several articles. There is no point in this, I wrote about this in previous articles. Yes, and I think the recovery technology is clear to everyone. Within the framework of the articles, I will share only the body parts of the car themselves.
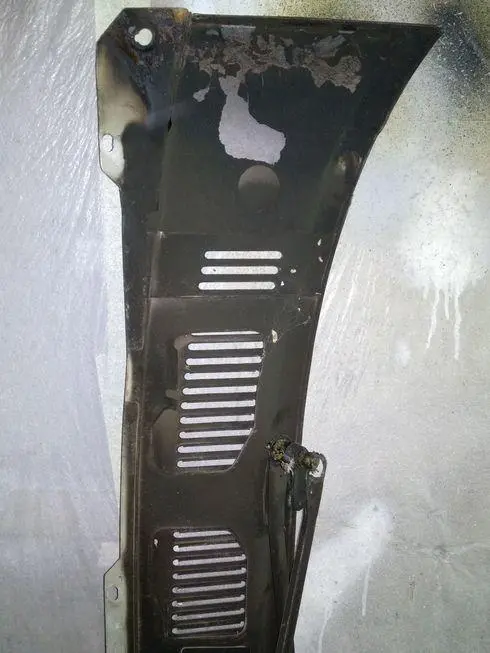
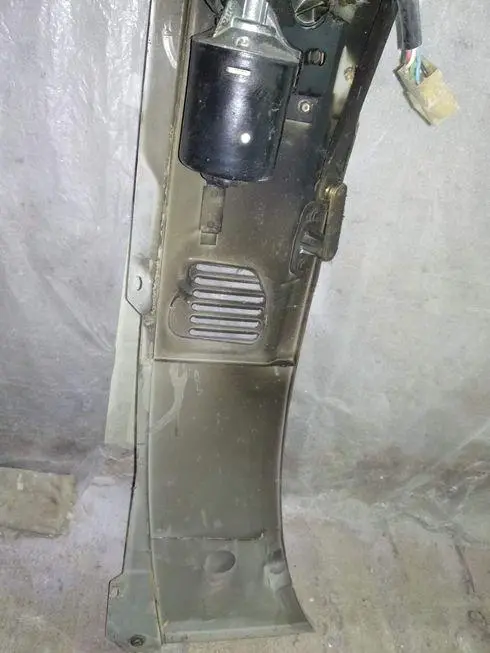
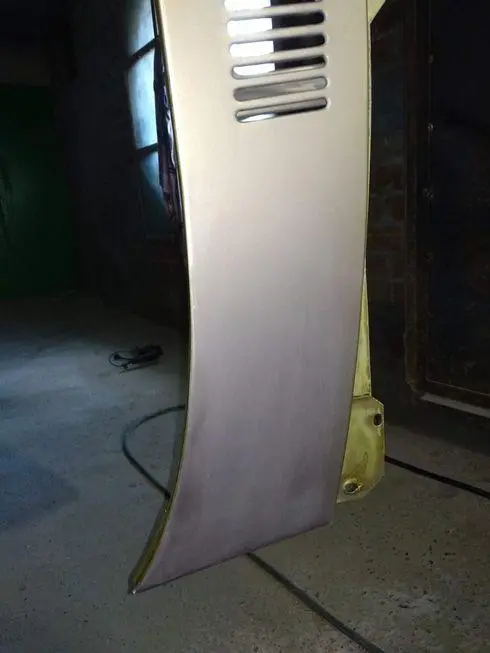
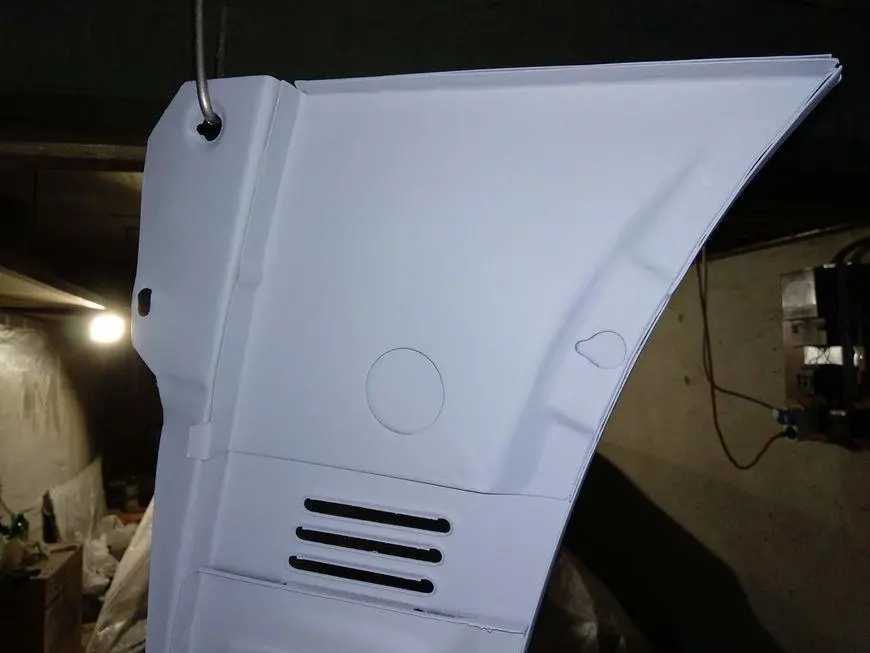
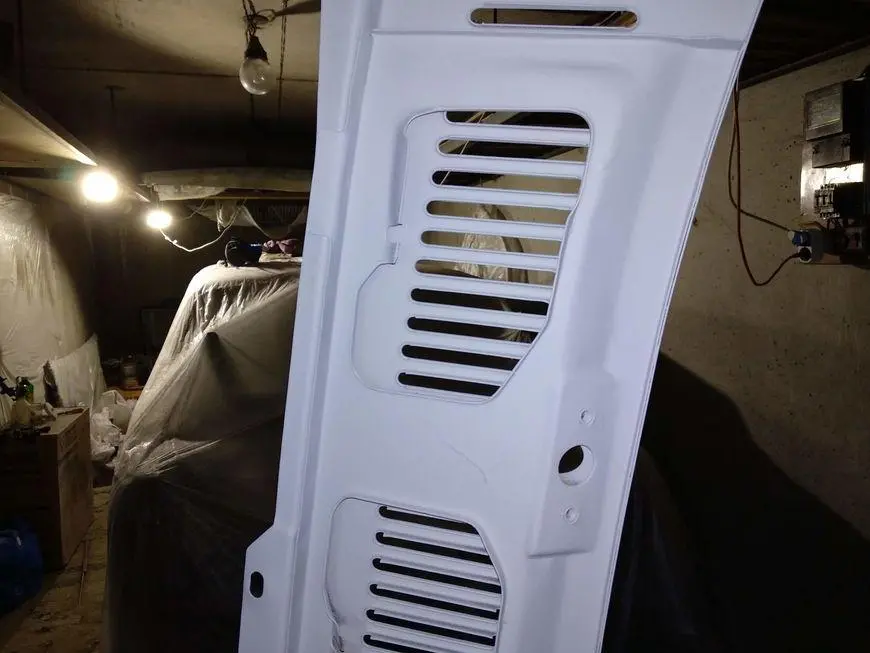
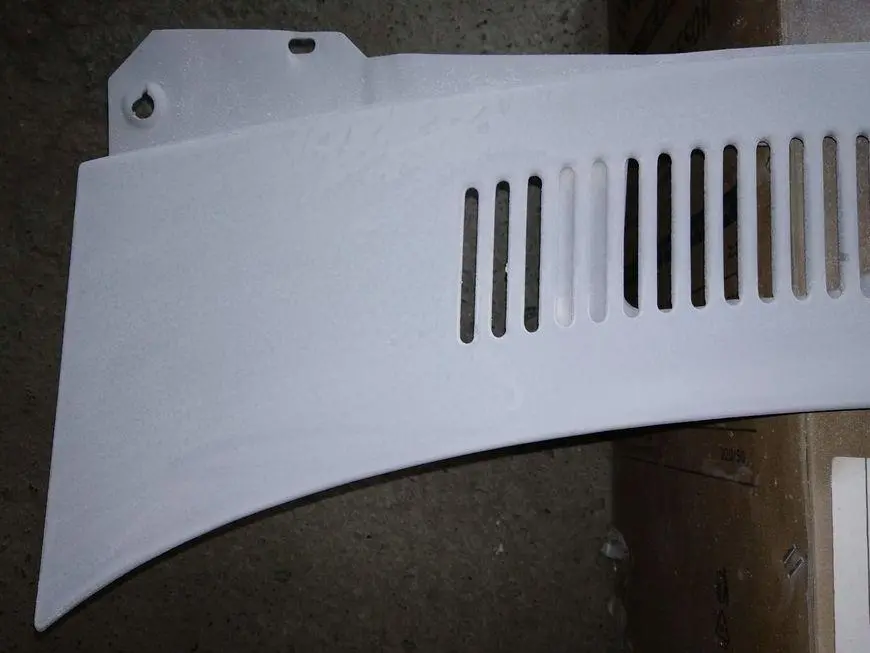
So, what was the damaged wiper panel like:
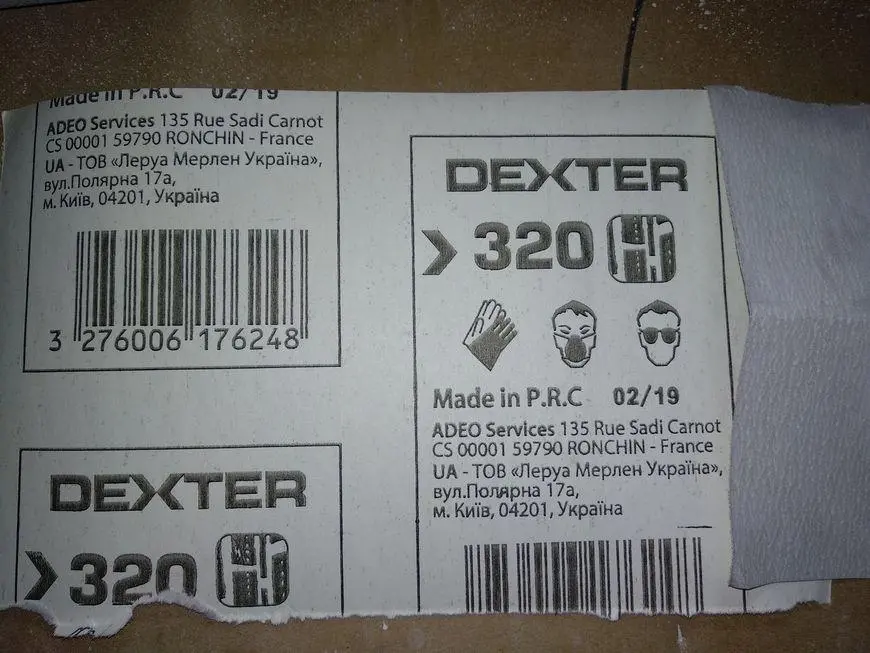
I cleaned the soot from it and began to primer. First, I applied an acid primer HB BODY 960. I wrote about all the materials used in this article.

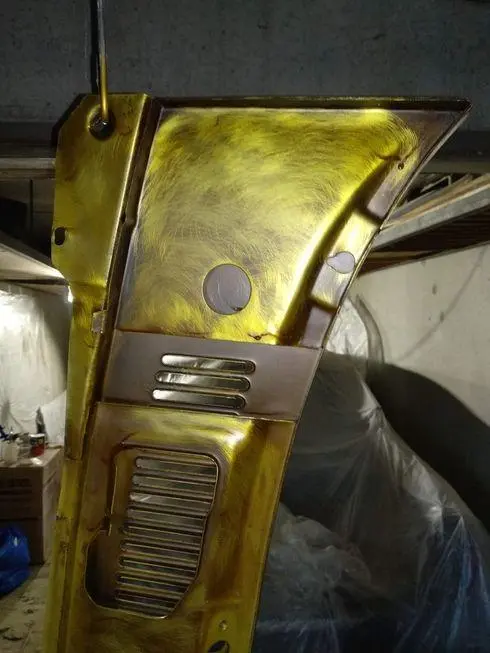
Then primer-filler HB BODY 634.

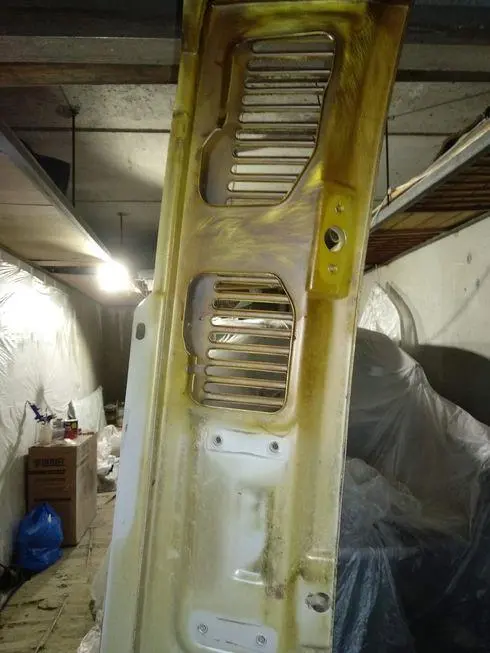
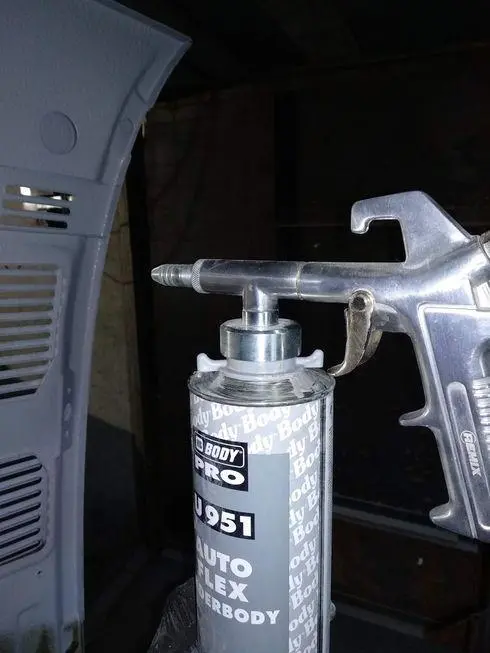
I applied anti-gravel to the inside of the panel. I had two bottles left - HB BODY 950 and HB BODY 951. In the bottle with 950 anti-gravel was on the bottom, I splashed a little, and that's it. The rest, what was not "got" by the tube of the gun for anti-corrosion materials, was poured into a cylinder 951. I shook it a few times and finished processing it. Made the anti-gravel more liquid to lay flat. To get the right consistency, I added a regular degreaser to the anti-gravel.
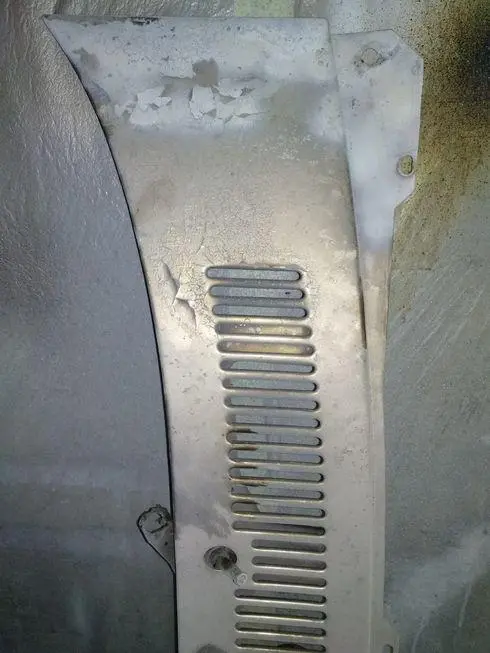
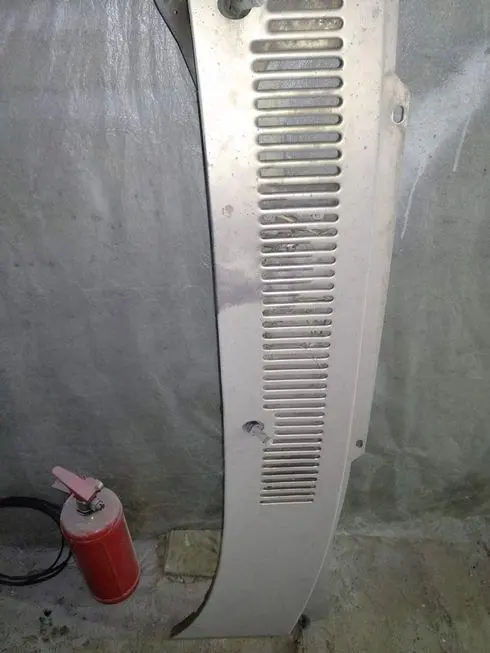
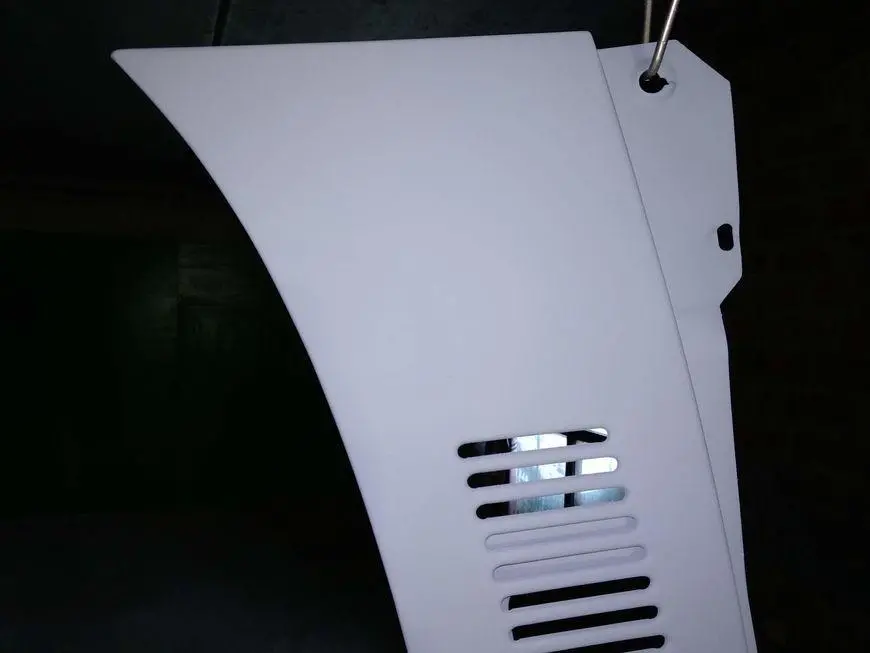
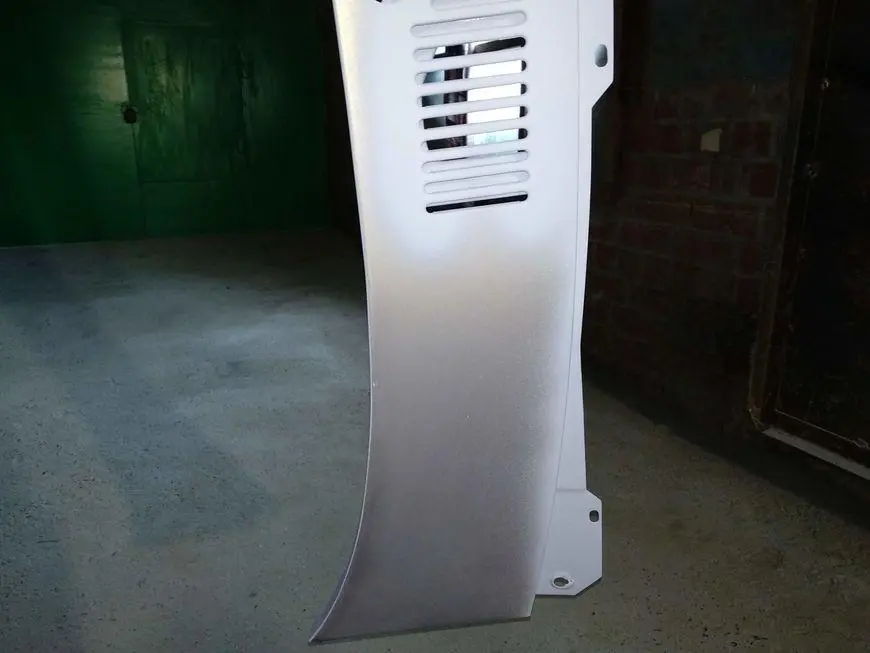
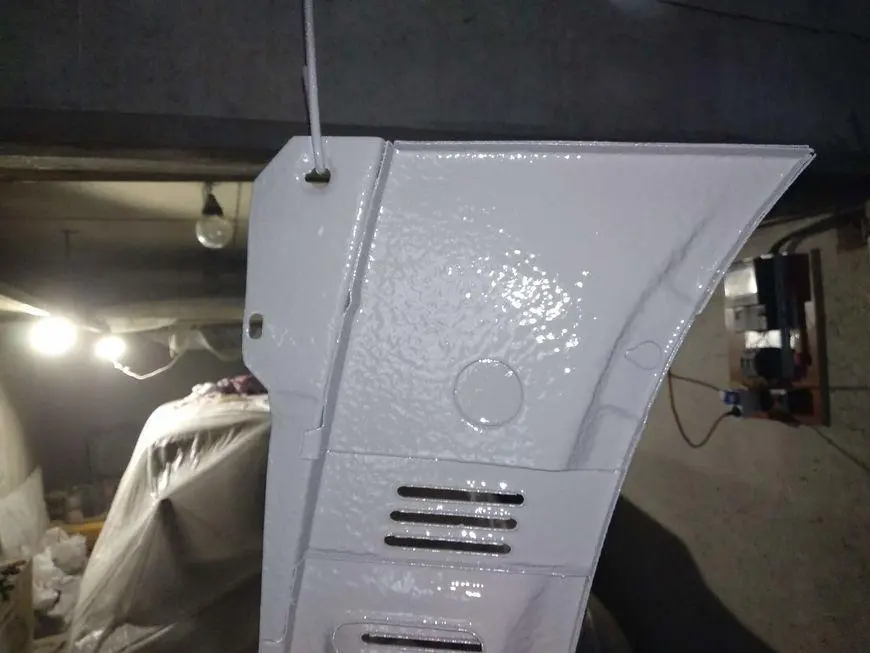
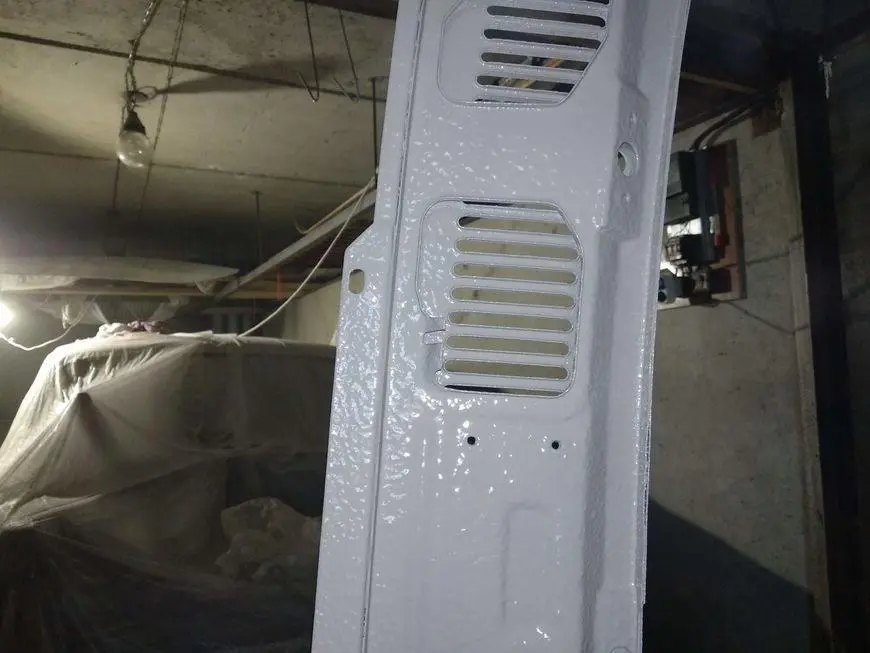
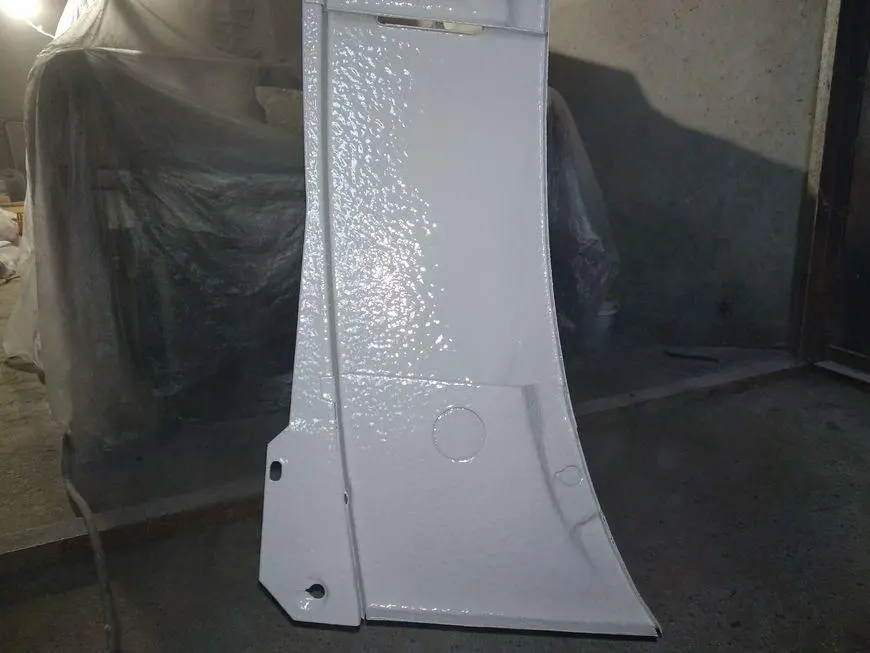
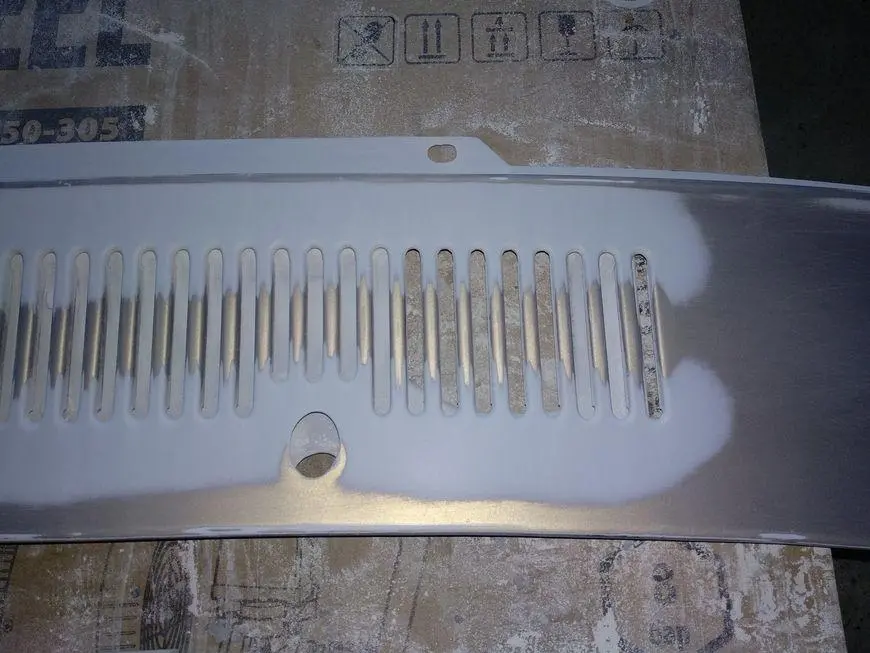
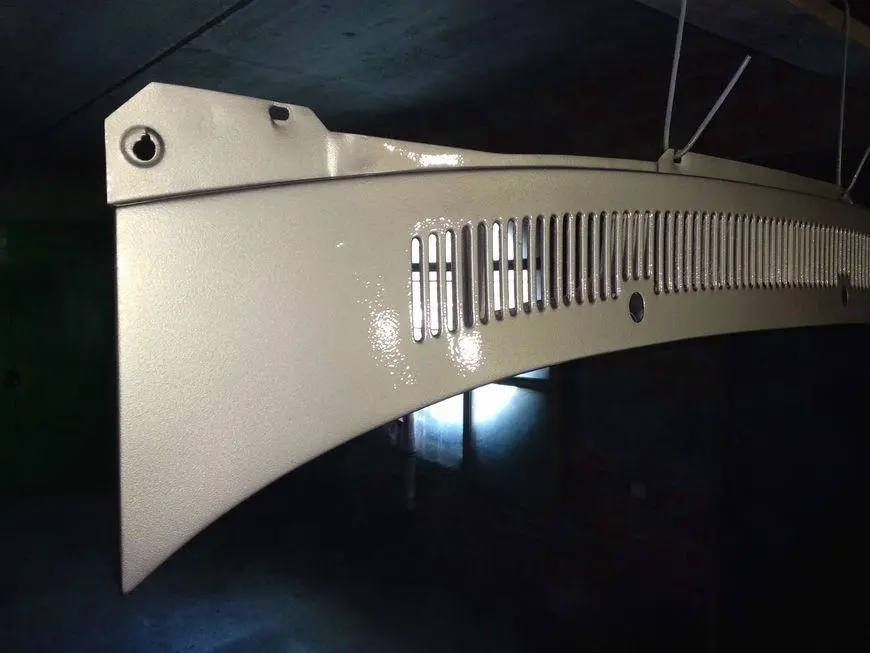
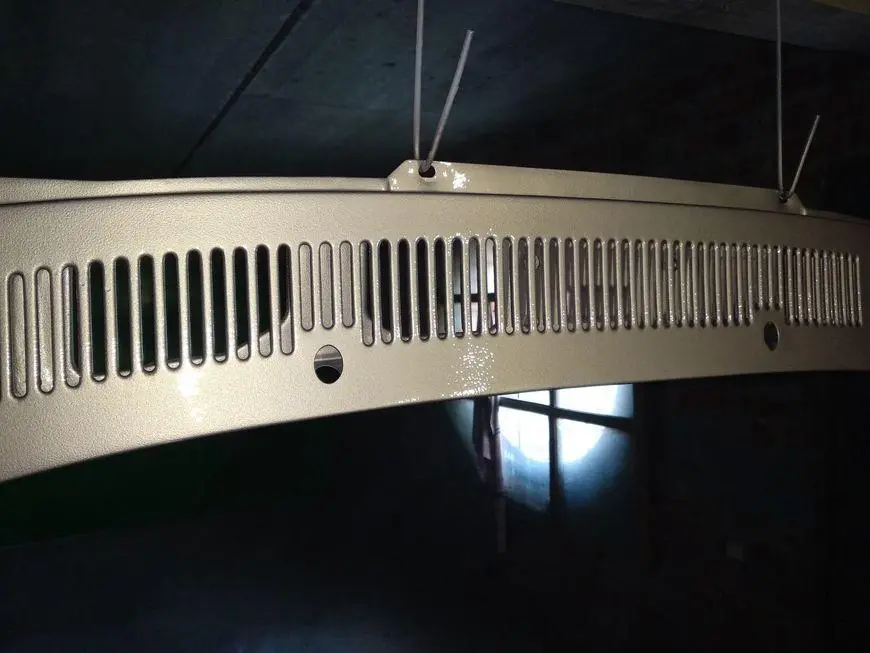
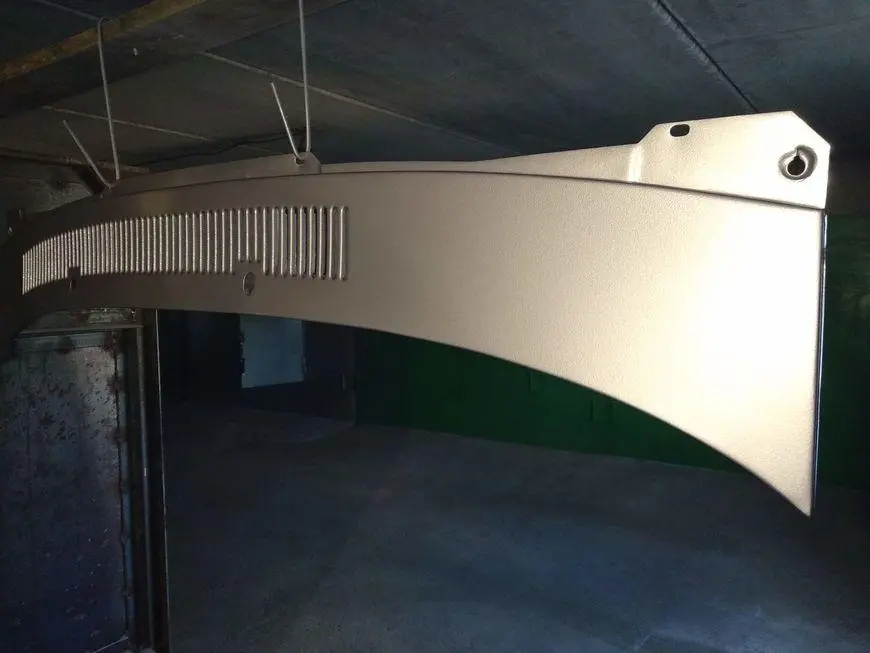
Here's what happened in the end.
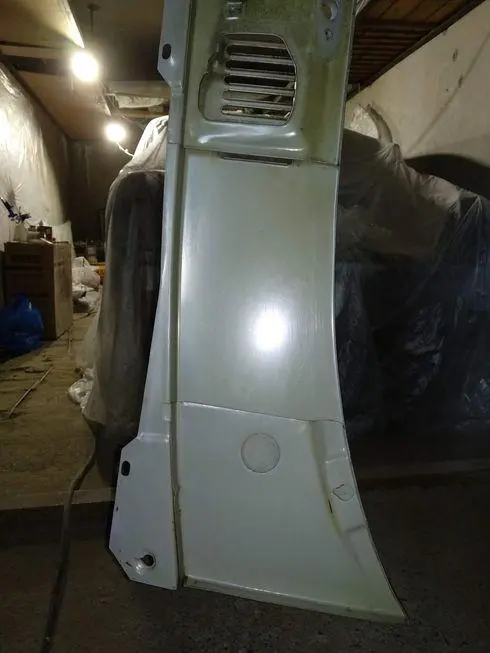
The next day, after the anti-gravel had dried, I went to grind the filler primer. I used P320 abrasive, P180 soft foam blocks, and at the very end of sanding finished the surface with P600 sandpaper.

After that I started painting. First, I applied HB BODY 970 insulating primer once. Well, as usual, the primer lay in drops. I have already written about this and have already concluded that the low air temperature is to blame.
Then he applied the base enamel and varnished it. The varnish at this temperature also spreads reluctantly, dries for a long time and gives smudges.
That's all. In the next article I will talk about the restoration of doors.
Until next articles.